
Drivers above a suspended ceiling: placement and ventilation
The drivers for LED panels and downlights usually end up above the ceiling. Practical rules on where to put them, how to keep them cool and how to reach them later.
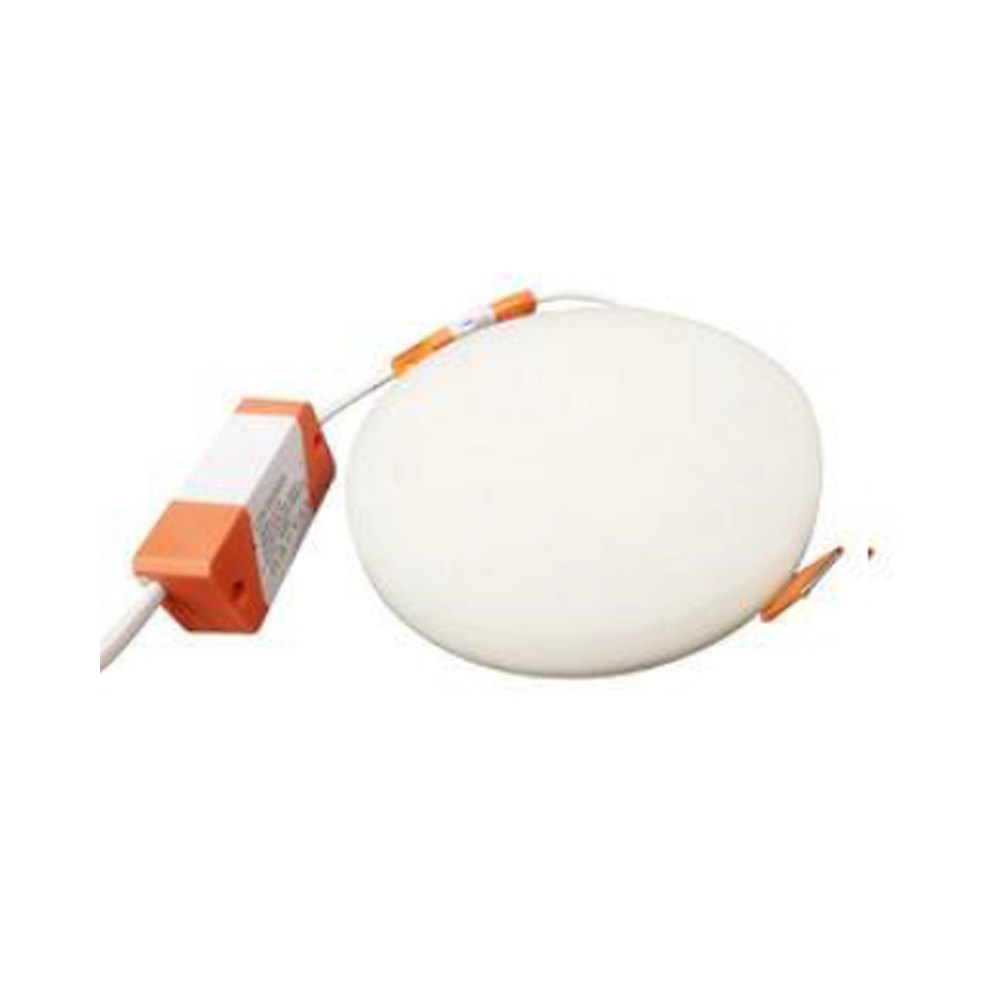
An LED panel or downlight can look flawless on the ceiling, yet how long it lasts is often decided by the part you never see: the driver sitting in the void above. That small box produces the steady current the diodes need, and it is even more sensitive to heat than the LED board. The "drop it in and close up" approach during installation can later mean flicker, early failures and having to open the ceiling again.
Why drivers heat up and why it matters
A driver converts mains voltage into a form the LED module can use, and that conversion is never loss-free: part of the energy turns into heat. Components inside, electrolytic capacitors in particular, age faster at higher temperatures. The same driver may therefore run for a long time in a cool, ventilated space and fail much sooner in a hot, closed pocket.
The void above a suspended ceiling is one of the warmest spots in a room. Warm air rises into it, on a top floor the heat of the roof adds to it in summer, and ventilation ducts, hot-water pipes and neighbouring fittings all contribute.
Reading the label
A good-quality driver carries several useful markings:
- input voltage and output current or voltage, for matching the LED module;
- "ta", the ambient air temperature range the driver is designed for;
- "tc", a marked point on the case together with the maximum temperature it must not exceed;
- the IP rating and insulation class.
The tc point is handy for a practical check. After the fitting has run for an hour or two, measuring that spot with a contact thermometer or an infrared thermometer shows whether the driver is working within its intended conditions.
Where to place it
These rules help when choosing a spot for the driver above the ceiling:
- do not lay the driver on mineral wool, foam or other thermal insulation, and never bury it in it, because insulation keeps the heat around the case;
- do not rest it directly on the fitting's body or heat sink, where two heat sources warm each other;
- keep it a little away from hot-water pipes, ventilation ducts, halogen transformers and other drivers;
- do not stack several drivers on top of one another; place them side by side with a gap between them;
- make sure the unit lies flat and stable on the ceiling board rather than hanging by its cable.
If the manufacturer gives a maximum cable length between driver and LED module, stick to it. Stretching the low-voltage output run too far can cause voltage drop and visible differences in brightness between fittings.
Above bathrooms and kitchens, moisture joins the heat. In such places it makes sense to choose a driver whose label shows a suitable IP rating and to bring the cable to it with a small downward loop, so that condensation running along the cable drips off at the lowest point of the loop instead of reaching the unit. Placing a driver right at the mouth of a ventilation outlet is a poor idea for both steam and dust.
Plasterboard, grid and stretch ceilings
In a grid ceiling with lay-in tiles the driver is easy to inspect by lifting a tile, but you still need to check it has not ended up lying on insulation. In a plasterboard ceiling the driver should sit where you can reach it by hand through the hole once the fitting is removed; if that is not possible, an access hatch nearby makes sense.
In a stretch ceiling the gap between the membrane and the concrete is often narrow, and heat escapes poorly. A separate mounting platform or a more open position for the driver is a better choice here, and a warm driver case should not touch the membrane.
Mains GU10 spot lamps carry their driver inside the lamp itself, so there is no separate box in the ceiling. G5.3 lamps, by contrast, often run from a low-voltage transformer or power supply, and the placement rules above apply to that unit just the same.
Checklist before the ceiling is closed
- every driver has free air space around it;
- units are clear of insulation and hot pipes;
- mains and low-voltage cables are not under tension and terminal covers are in place;
- every driver can be reached through the fitting hole or a hatch;
- a note or drawing records which driver serves which fitting.
Taking a photo of each driver's label on your phone before the ceiling is closed is another useful habit. When a unit fails years later, finding a replacement with the same specifications is easy, and a driver with a different output current can damage the LED module.
Keep an eye on the lights during the first days. If a fitting switches itself off after a while and comes back on, flickers, or the driver buzzes, it may be overheating or mismatched. In that case have an electrician check the connections and move the unit to a cooler place.
For anyone who prefers ceiling spots with replaceable lamps, the Zaferoğlu Elektrik catalogue includes Zəfər İşığı lamps with GU10 and G5.3 caps.
All news