
How to light paintings and photos on a wall
A painting disappears in dim light, and lit from the wrong angle its glass shows glare. We cover spot position, angle, beam width and colour quality step by step.
A carefully chosen painting, family photos or a framed poster goes up on the wall, yet in the evening, under the general room light, they turn into a dark patch. The colours of a painting, the texture of brushstrokes on canvas and the faces in a photograph only come through under properly aimed light. You do not need museum equipment for this: knowing a few geometric rules and choosing a suitable spotlight is usually enough.
The core problems: glare and shadow
Two mistakes are typical when lighting pictures. The first is light that hits the picture too steeply, almost from straight above. The top of the frame then casts a wide shadow across the image and the upper part of the canvas stays dark. The second is light coming too flat, from behind the viewer. Varnish, oil paint and especially the glass in a frame then reflect the lamp like a mirror, and a bright spot appears in the middle of the picture.
Both come down to angle. Light reflected by glass or a glossy surface leaves at the same angle as it arrives, mirrored. If the light comes from above at a moderate angle, the reflected beam heads down towards the floor and never reaches eye level.
The 30-degree rule and where to put the spot
The most commonly recommended starting point is for light to reach the picture at about 30 degrees from vertical. This keeps the frame shadow short and sends most of the glare away from the viewer's line of sight. For large frames you can increase the angle slightly to cut the shadow; to bring out surface texture, reduce it a little.
To get that angle, the spotlight must be placed on the ceiling a certain distance from the wall. A simple calculation: take the height difference between the centre of the picture and the ceiling and multiply it by 0.58 (the tangent of 30 degrees). For example, with a 2.7 m ceiling and the picture centre about 1.5 m above the floor, the difference is 1.2 m, so the spot should sit roughly 70 cm out from the wall. The higher the ceiling, the larger that distance becomes.
Galleries often hang pictures with their centre close to eye level, around 145–155 cm from the floor. At home, pictures above a sofa or chest of drawers may hang lower, so use the actual centre of the picture in the calculation.
Which fitting to use
At home there are several routes:
- adjustable recessed ceiling spots, the neatest option;
- a track system, convenient if you change pictures often, since spots slide along the rail;
- a dedicated picture light fixed above the frame, for small and medium pieces, with no ceiling work needed;
- surface-mounted adjustable spots on the wall or ceiling.
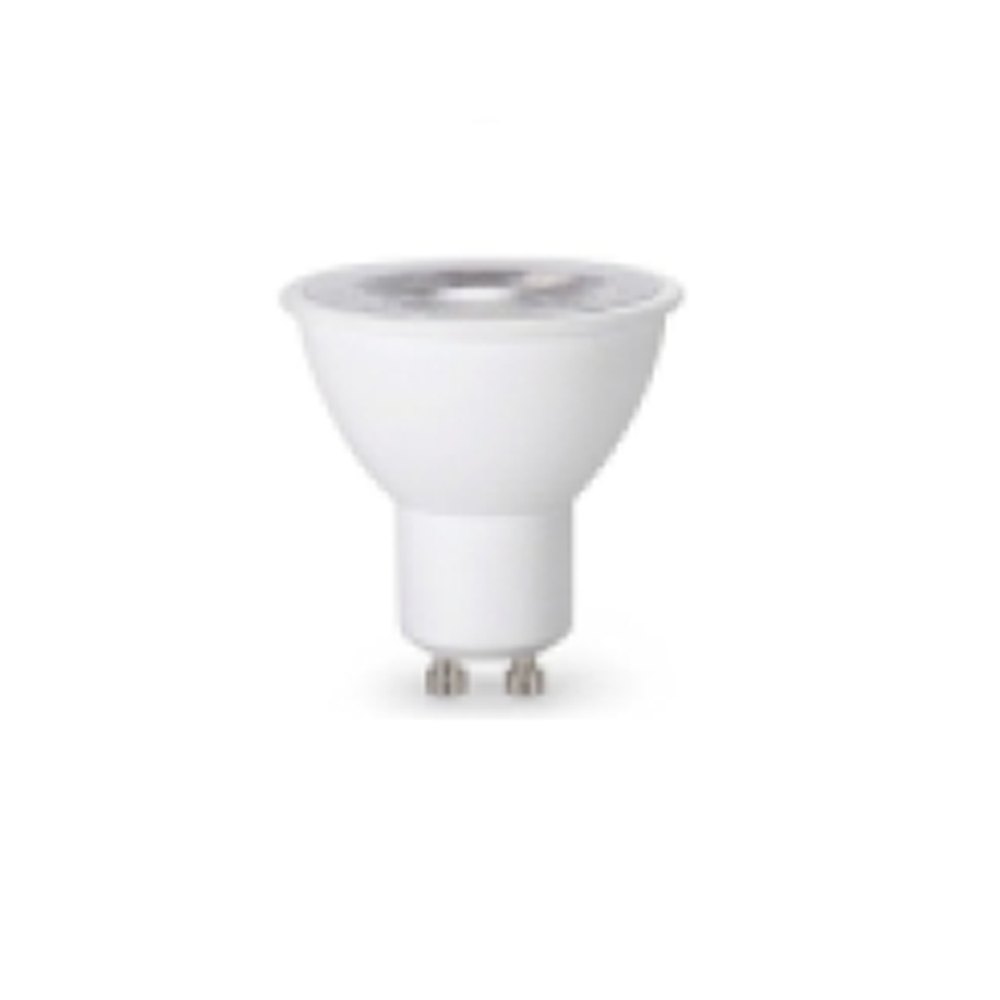
Beam width should suit the size of the picture. A narrow beam gives a small portrait a dramatic accent but leaves the edges of a wide canvas in the dark. For a large canvas, either one wide-beam spot or two spots aimed in from the sides give a more even result. With GU10 and G5.3 spotlights, the beam angle depends on the lamp itself, so changing the lamp changes the effect.
With a picture light fixed above the frame, the arm must be long enough for the light to reach the bottom edge. A short arm over-lights the top and leaves the lower part dim.
Brightness, colour and protection
For a picture to stand out, its surface has to be noticeably brighter than the wall around it. In lighting design, accent light about three times the background level reads as noticeable, and a much larger difference as dramatic. At home, very sharp contrast is tiring; a dimmable spot helps you find the right balance.
For accurate colours, look at the lamp's colour rendering index (CRI, Ra). Lamps with a high Ra are preferred for artwork and photos, because at low values reds and skin tones look washed out. The colour temperature can follow the picture itself: warm-toned classical paintings look natural in warm white, while cool contemporary work and black-and-white photos suit neutral white.
Then there is protection. Ultraviolet radiation and strong heat fade paint and paper over time. Old halogen spots carry more risk on both counts; LED spotlights usually emit very little of either. Even so, it is sensible not to hang valuable originals where direct sunlight hits the wall, and not to place a spot too close to the artwork.
Checks before installation
- how many centimetres above the floor is the centre of the picture;
- has the spot's distance from the wall been worked out from the ceiling height;
- does the frame have glass, and has glare been checked from eye level;
- does the beam width suit the picture size;
- are the lamp's Ra and colour temperature known;
- can the brightness be adjusted.
You can do a final check with a temporary setup: shine a torch or a table lamp at the picture from the calculated point and look from where you usually sit. If you see glare, move the source a little further from the wall.
The Zəfər İşığı catalogue from Zaferoğlu Elektrik includes GU10 and G5.3 spot lamps as well as an adjustable 3D spot. Suitable lamps for spotlights can be found in the catalogue on the website by filtering by cap.
All news