
How an LED bulb is assembled: the main production stages
A small bulb brings together a board, a driver, a housing and a cap. The main stages an LED bulb goes through, from components to the box.
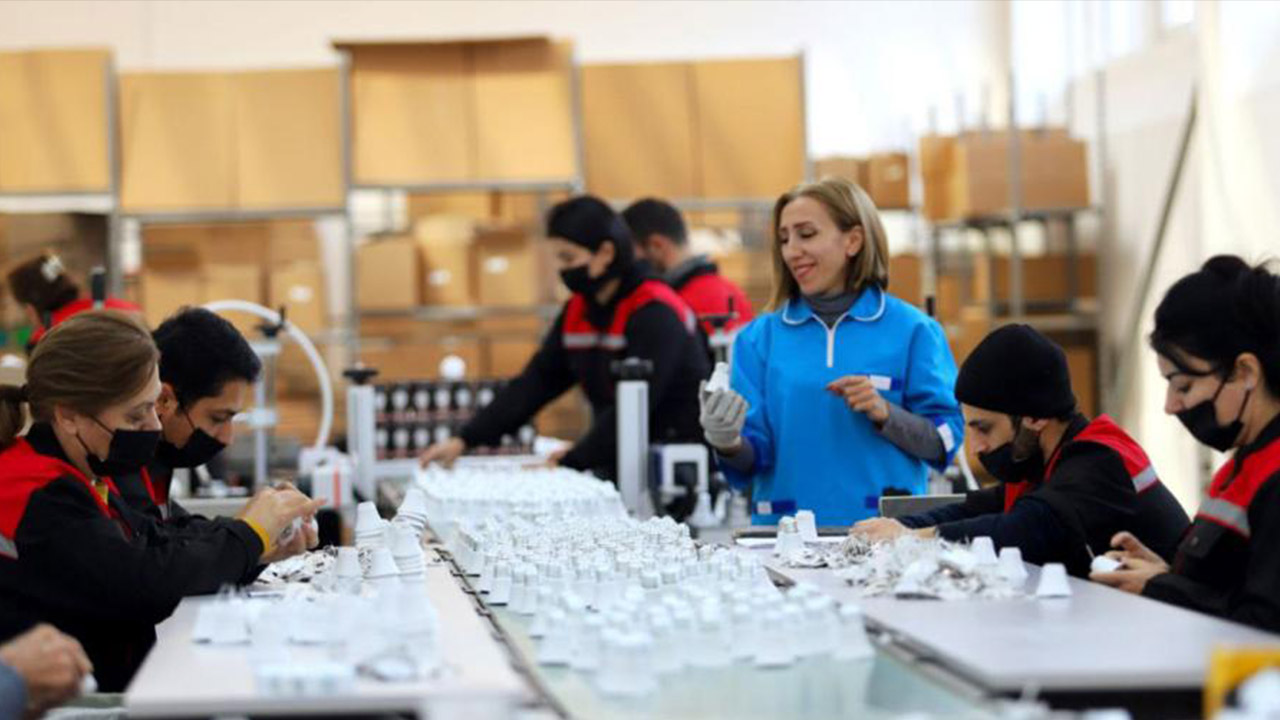
In the hand an LED bulb looks simple: a plastic dome, a body and a screw cap. Inside that small product, though, are several interdependent parts, each made, checked and then joined together. Knowing the stages is not just a matter of curiosity. It helps explain why a particular part of a bulb fails, and it helps separate a well-made product from a weak one. What follows is the general sequence widely used for a standard household LED bulb; the order of steps and the level of automation vary from plant to plant.
Receiving and checking components
Before anything reaches the line, every part arrives in the warehouse: LED chips, printed circuit boards, electronic parts for the driver, housings and domes, caps, solder paste, adhesive and packaging. Samples are taken and checked: dimensions, appearance, electrical values, and the colour and brightness group of the chips.
This is one of the least visible stages and one of the most important. If chips from the wrong group or housings of the wrong size reach the line, all the work that follows can be wasted.
Making the LED board
The light-emitting part of the bulb is usually a round, aluminium-based board. Making it takes several steps:
1. A thin layer of solder paste is applied to the board’s contact pads through a stencil.
2. A pick-and-place machine sets the LED chips and other small parts onto the paste.
3. The board passes through a reflow oven; the paste melts and, as it cools, fixes the chips in place.
4. The finished board is checked visually and electrically to find any chip that does not light or lights weakly.
The quality of the solder layer affects both the electrical contact and how heat moves from the chip into the board, so the oven’s temperature profile is closely controlled.
Assembling the driver
The driver is a compact circuit board that adapts the alternating supply into a constant current for the chips. Its board carries a bridge rectifier, capacitors, a control IC, a protective fuse element and other parts. Small components are placed automatically, as on the LED board, while larger ones such as the electrolytic capacitor are inserted through holes and soldered.
In some bulbs the driver is not on a separate board but shares one board with the LEDs. That simplifies the design but needs its own approach to heat.
Housing, cap and final assembly
Next, the parts become one product. The general order is: the driver goes into the housing, its output wires are prepared to reach the LED board and its input wires to reach the cap. The LED board is seated at the top of the housing with thermal paste or a thermal pad, so heat passes easily into the body.
The cap is fitted over the housing and crimped in place by a dedicated machine, and the centre contact is soldered. Finally, the dome is glued to the housing. An even bead of adhesive keeps the dome secure and stops dust getting inside.
The balance between automation and manual work at this stage varies between plants. On some lines operators prepare and solder the wires; on others machines do it. Either way the requirements are the same: wires must not be pinched, solder joints must not touch metal parts of the housing, and the driver must sit firmly inside the body without rattling. A small lapse here can make a bulb fail in its first months.
Burn-in and final inspection
Assembled bulbs do not go straight into boxes. They are usually left lit on special racks for a period. The purpose of this burn-in is to bring early faults — a weak solder joint, a defective capacitor, a mismatched chip — to light while the bulb is still in the factory.
Final inspection covers power, current, colour and evenness of light, appearance, and whether the cap sits straight. Bulbs selected as samples may go through more detailed measurements: luminous flux, insulation strength, mechanical robustness.
Marking and packing
A bulb that passes inspection has its ratings printed on the dome or body and goes into its box. The box carries the power, voltage, cap, colour temperature, manufacturer and batch details. Boxes are packed into larger cartons and sent to the warehouse.
For the buyer, the practical lesson is simple: how long a bulb lasts depends largely on the quality of its heat path and the parts in its driver, so how a manufacturer treats those parts matters as much as what is printed on the box.
Zaferoğlu Elektrik’s production site in Ganja was set up in the building of a former sewing factory, and according to information given at its opening, modern equipment brought from abroad was installed there. The plant makes LED bulbs under the Zəfər İşığı brand.
All news