
Wall-washing light: lighting a wall evenly
Lighting a wall evenly from top to bottom depends on the type of fitting, its distance from the wall and the spacing between fittings.
How bright a room feels does not depend only on the light reaching the floor. The eye first takes in vertical surfaces such as walls, shelves and curtains, and when they are lit the room seems larger and more comfortable. Yet attempts to light a wall often go wrong: bright arcs at the top, a dark band at the bottom and shadows in between. There is a specific technique for avoiding this, known as wall washing.
What wall washing means
The aim of wall washing is to light the whole surface of a wall as evenly as possible, from top to bottom and from one corner to the other. The wall then becomes a light source in its own right, reflecting light into the room without visible separate patches.
It should be distinguished from wall grazing. Grazing places the source right at the wall so the beam skims along it at a very shallow angle. That brings out the texture of stone, brick or decorative plaster and stretches the shadows. Wall washing does the opposite: it flattens the surface and hides small imperfections. Which to choose depends on the wall: washing for a smooth painted wall, grazing for exposed brick.
Why asymmetric optics are needed
An ordinary ceiling fitting spreads light symmetrically in all directions. Put it next to a wall and half its light goes away from the wall towards the floor, while the part that does reach the wall is concentrated near the top. The result is a bright arc or "crown" high on the wall.
In an asymmetric fitting, a reflector or lens directs most of the light to one side, towards the wall, and carries it down to the lower part. These fittings come in several forms:
- Recessed wall washers — round downlights with an angled reflector or a shielding "eyelid" inside;
- Linear wall washers — long profiles set into the ceiling or a cornice, running along the wall;
- Wide-beam track spots — adjustable, but they need to be aimed at the right angle;
- Linear floor-level uplights — for accenting the lower part of a wall.
Choosing distance and spacing
Two measurements decide most of the result: how far the fittings are from the wall, and how far apart they are. A frequently quoted rule of thumb puts the fittings at roughly a third to a quarter of the wall height away from the wall, with spacing between them about equal to that distance. So on a tall wall the fittings sit further out, on a low wall closer in.
This rule is only a starting point. Every fitting has different optics, and manufacturers often state a recommended distance for their own product. The general logic is:
- when a fitting is too close, light hits the wall at a steep angle, leaving bright patches at the top and darkness below;
- when it is too far, part of the light lands on the floor and the wall is poorly lit;
- when spacing is too wide, dark "teeth" appear between the fittings.
The ends of the wall need thought as well. If the first and last fittings in a row are set about half a spacing in from the corner, the corners do not fall into darkness.
Surface and lamp choice
The wall itself has a big influence. Matt, light-coloured paint scatters light evenly and is the best surface for a washing effect. Gloss paint, varnish or glass cladding reflect an image of the fitting, so instead of even light you see bright points. A dark wall absorbs most of the light, so more light is needed for the same effect.
A few points apply to the lamps. All the lamps along one wall should be the same model and colour temperature; otherwise differences in tint show as stripes. Light with good colour rendering shows the wall colour, and any pictures or shelves on it, more naturally. With spots, beam angle matters: a narrow beam creates separate pools, while a wide beam gives light that blends together.
Test before installing
Before cutting into the ceiling or drilling holes, a simple trial prevents many mistakes:
1. Hold one or two fittings temporarily in the planned position and light the wall in the evening.
2. Then walk to the far side of the room and check the wall from floor to ceiling.
3. Move the fittings closer to and further from the wall and watch how the patches change.
4. If furniture or curtains will stand in front of the wall, allow for their shadows.
5. Check from where you usually sit that the light does not shine into your eyes.
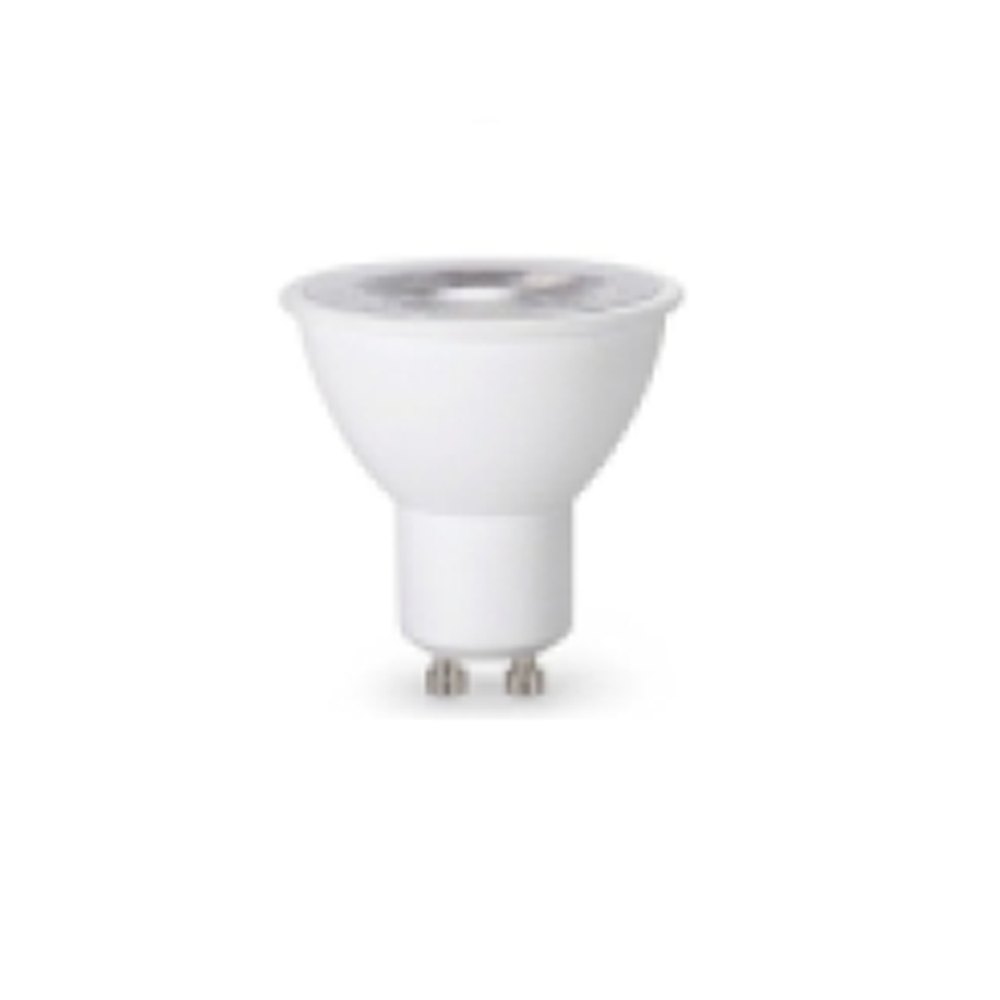
Directional light for a feature wall can come from a GU10 or G5.3 Zəfər İşığı spot, or from the 3D spot with its tilting head. When choosing lamps for wall lighting, the catalogue lets you compare them by base and wattage.
All news