
Lighting an exhibition stand
Every stand in the hall shares the same ceiling light; what draws visitors in is your own lighting. Planning, spotlights, power limits and build-day checks.
In an exhibition hall, hundreds of stands stand side by side under the same ceiling lights. A visitor walking down the aisle decides in a few seconds whether to stop or keep going. That decision depends as much on how the product looks as on the product itself. Stand lighting works for only a few days, but during those days it largely determines what the whole investment in taking part delivers.
Do not rely on the hall lighting
The general lighting in exhibition halls usually comes from a high ceiling and is designed for people moving comfortably along the aisles. It tends to be flat and shadowless, making products look dull. In some halls it is uneven, and your stand may fall into a darker zone between two ceiling fittings. In others, daylight enters through windows and the scene changes as the hours pass.
Stand lighting should therefore be planned independently of the hall. The aim is to make the stand slightly brighter than its surroundings and to highlight the key products. The eye naturally goes to the brighter area, which draws people in from the aisle.
Three layers of light
Good stand lighting usually has three layers:
- general light — for conversations, reading brochures and looking closely at products;
- accent light — narrow-beam spots aimed at the main products, samples and display cases;
- graphics lighting — for the logo, name board and large banners, either a backlit panel or even light from above.
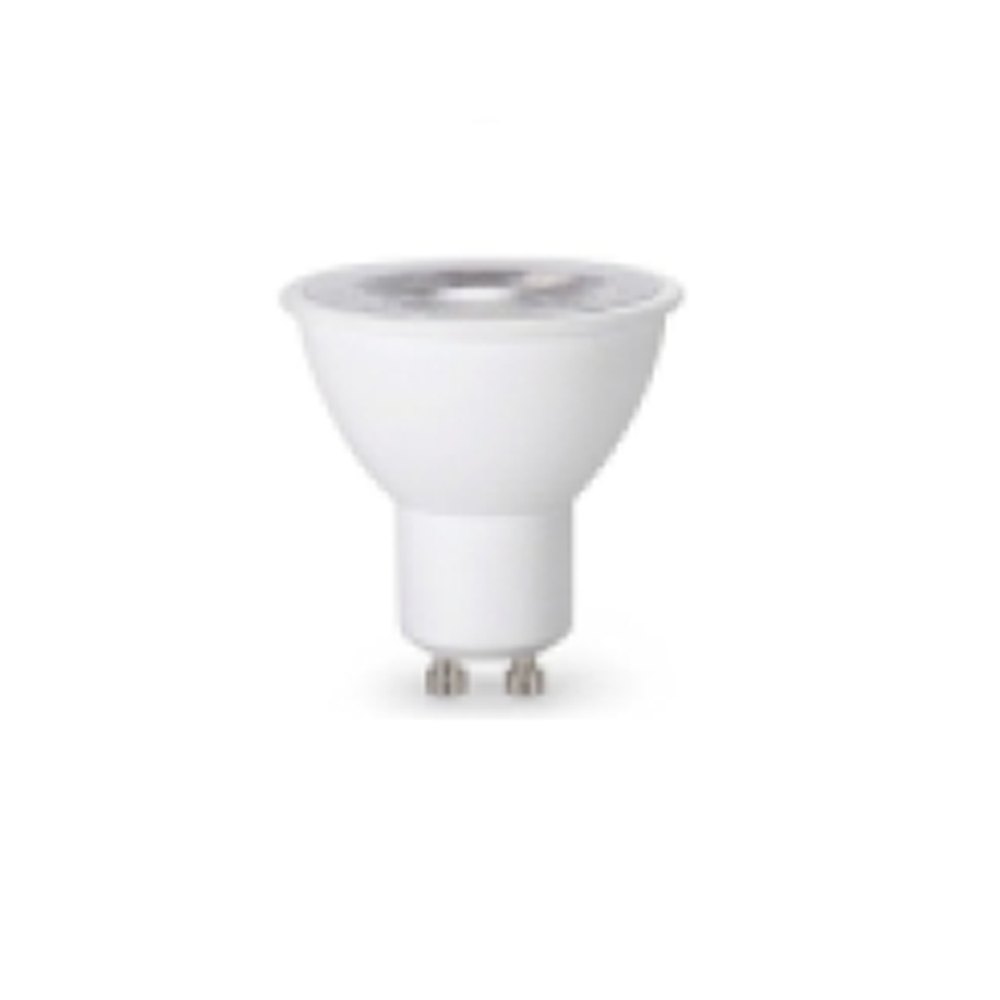
For accent lighting, narrow and wide beam spot lamps are used together. A narrow beam separates one product from its background, while a wide beam opens up a display case or shelf as a whole. Spot-cap lamps such as GU10 and G5.3 are very common here because they fit easily into track systems and small fittings, and are simple to re-aim.
Colour, heat and glare
Choose colour temperature to suit the product. Warm light flatters wood, leather, textiles and food. Neutral or cool white looks more natural on electronics, metal, glass and medical equipment. Mixing different colour temperatures on one stand usually looks untidy, especially on the same wall.
A high colour rendering index also matters, because visitors need to see the true colour of the product. The difference is especially noticeable with fabrics, paints and cosmetics.
Do not forget heat. Halogen spots warm both the product and the air; on a small stand this becomes noticeable after a few hours and can harm sensitive goods such as chocolate or cosmetics. LED spots are far more comfortable in this respect, though they still should not be placed too close to the product. On food stands, also make sure the lighting does not alter the look of the product unnaturally, since visitors will later see the same product under ordinary light.
Glare is a common mistake at exhibitions. A spot shining straight into the eyes of someone in the aisle pushes them away from the stand. Aim spots so the light lands on the product, not in the eyes of people looking in. If there is a screen on the stand, check the light falling on it too.
Power allowance and safety rules
Organisers usually define in advance the electrical capacity and connection point for each stand. The total power of the stand lighting, together with screens, a coffee machine and other devices, must fit within that allowance. LED lamps make this much easier, since they need less power for the same light.
Read the organiser's technical regulations before building. They set requirements for cable types, the use of extension leads and multi-way sockets, fire safety and how fittings may be suspended. At some shows, only the organiser's electrician is allowed to make the connection. Any cables that cross walkways must be covered with protective ramps.
Build-day checks
The final adjustment of stand lighting must be done on site, under the hall's real lighting. A solution that looks right on paper can behave very differently in place. A short checklist for build day:
- switch on every spot and adjust its direction to the final position of the product;
- look from the aisle and from different sides: is any light hitting people's eyes?
- take photos with a phone camera, because many visitors will share the stand exactly that way;
- keep spare lamps, an extension lead and basic tools;
- check everything once more on the first morning, before visitors arrive.
Photographing the positions and angles of spots for the next show makes the following build considerably faster.
For an exhibition stand, Zəfər İşığı GU10 and G5.3 spots or the swivelling 3D spot can be located quickly by filtering the online catalogue by base.
All news