
Lighting for security cameras
Poor night footage is often caused by the lighting, not the camera. Infrared versus white light, where to mount lights and the mistakes to avoid.
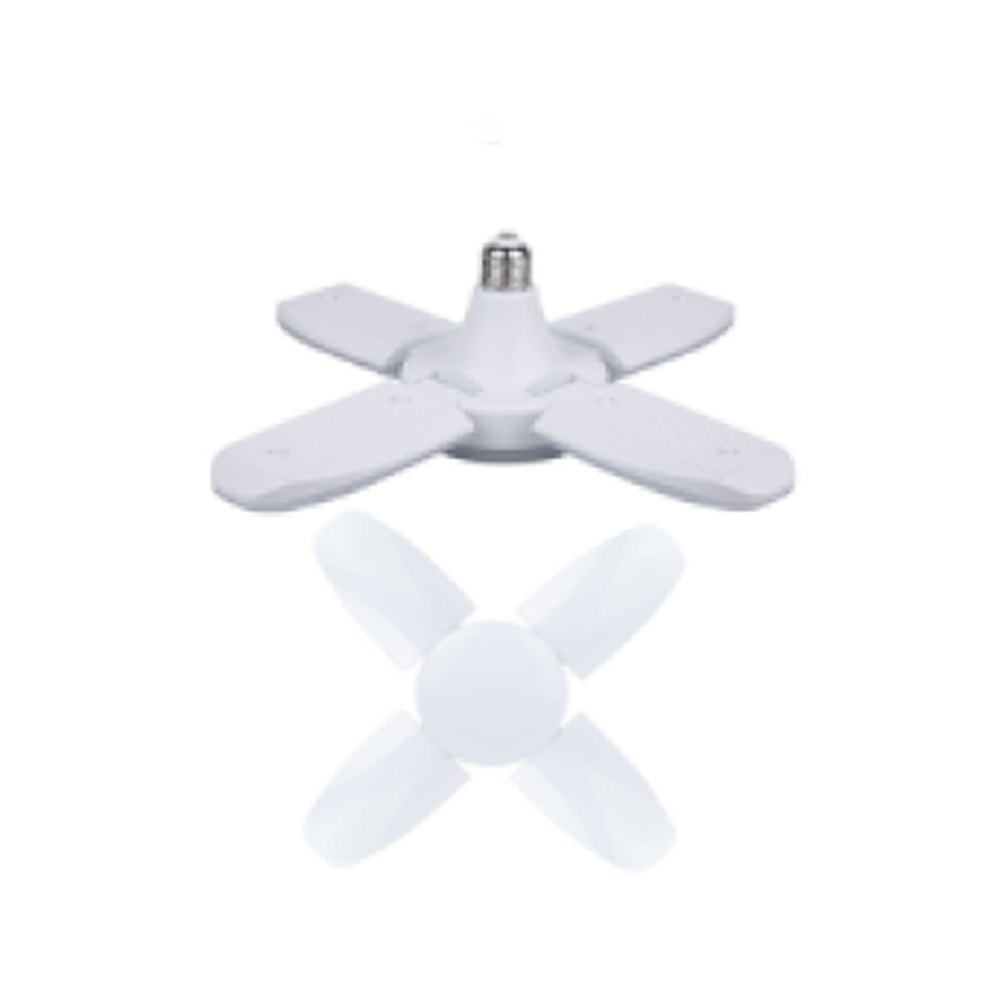
A camera that records crisp images by day often produces useless footage at night: faces become white blobs, number plates cannot be read and half of the yard disappears into darkness. The usual suspect is a cheap camera, but more often the real cause is the lighting. A camera can only record the light that reaches it, and where that light comes from and how it falls makes all the difference.
How a camera "sees" light
When most modern cameras switch to night mode, they move an infrared (IR) cut filter out of the way, and the sensor starts picking up IR radiation that the human eye cannot see. The picture turns black and white. The IR LEDs built into the camera body light the scene, but their range and power are limited: nearby objects glare while anything a little further away fades into darkness.
Colour footage needs visible light. Where there is enough white light, the camera stays in day mode and records the colour of clothing or a car. After an incident, that is a real advantage for identifying a person or vehicle.
Infrared or white light?
IR illumination is discreet, does not bother neighbours and attracts fewer insects. IR floodlights at 850 nm show a faint red glow, while 940 nm units are practically invisible but usually cover a shorter distance under the same conditions. If covert monitoring matters, keep that trade-off in mind.
White light has its own strengths. It serves both the camera and people: a well-lit yard is a deterrent in itself, and guards and residents can see the area too. With good colour rendering, colours in the footage are also accurate. The downsides are energy use and light spilling into the surroundings.
In practice a combination is common: constant white light where recognition matters, such as entrances, gates and car parks, and IR for the perimeter.
When choosing white light, pay attention to colour temperature as well. Very warm, yellowish light can distort the colour of clothing and cars, while very cold light gives the yard a harsh look. Neutral white is a good middle ground for most cameras. Check the camera's white balance after the lights are installed: when a yellow street lamp and a white LED floodlight sit side by side, automatic mode does not always get the colours right.
Where to put the floodlight
The most frequent mistake is placing a light source inside the camera's field of view. A floodlight or street lamp shining towards the lens blinds the sensor: automatic exposure adapts to the bright spot and everything else goes dark. Backlighting causes the same effect — a person standing in front of a brightly lit doorway turns into a silhouette.
A few simple rules:
- aim the light from behind or beside the camera towards the monitored area;
- do not mount a floodlight right next to the camera, or dust, raindrops and spider webs will light up and cover the image;
- where faces must be recognised, avoid light falling steeply from directly above, which leaves the eye sockets in shadow;
- for number plates, remember that headlights shine straight at the camera, so a dedicated, properly tuned camera is more reliable.
Uniformity and motion sensors
For a camera, even light is worth more than bright patches. If one powerful floodlight creates a bright zone with darkness two metres away, a subject crossing that boundary vanishes from the picture. Lighting an area with several medium-output sources usually works better than one very strong source.
Motion-activated lights save energy but can be risky for video. When a light snaps on, the camera needs a second or two to readjust exposure, and those are exactly the frames that matter most. Keeping a low constant level in the camera zone and raising it on motion gives steadier footage.
Flicker, banding and power cuts
With some LED lights, camera footage shows horizontal bands or rolling waves. The cause is flicker at a frequency the eye does not notice: when it interacts with the camera's shutter speed, bands appear. The problem typically comes with basic drivers or lights paired with incompatible dimmers. The most reliable approach is to test the light together with the camera before final installation and replace the light source if banding appears.
Cameras and recorders are often connected to an uninterruptible power supply, but the lights are not. During an outage the system keeps running while recording a dark yard, and the camera's own IR becomes the only fallback. On higher-risk sites, it is worth putting at least the entrance lighting on backup power, or checking that the camera's IR range covers that zone.
Quick checklist
- Check night footage right after installation, in real darkness.
- Send someone to the far edge of the frame and see how well the face and clothing can be read.
- Make sure no light source shines directly into the lens.
- Reassess the effect of foliage, snow and shadows when the seasons change.
- Clean floodlight covers and camera windows regularly.
Where a yard or loading area needs broad coverage, one option is the powerful T-shaped lamps that Zaferoğlu Elektrik sells; always confirm the technical data on the product sheet.
All news